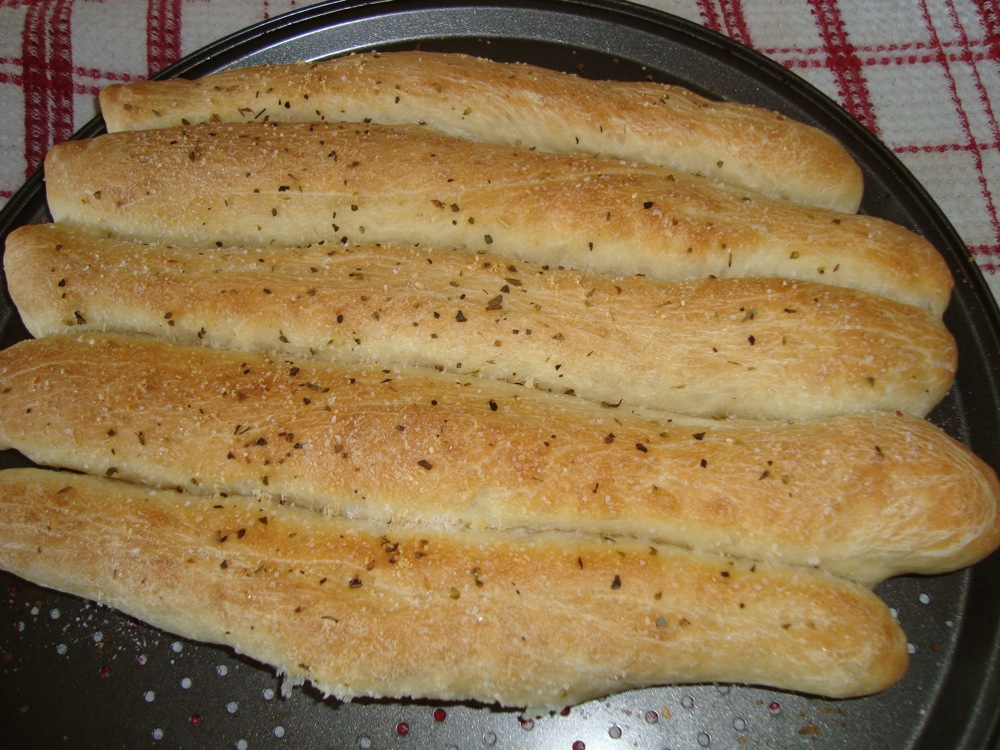
So a while ago we somehow ended up with absolutely nothing that we could have for lunch. We were busy working and cleaning and hadn't planned on doing groceries until the next day. We did have food but it consisted of mostly frozen meat, cereal and a couple of apples. There was no cheese, bread, deli meat or pasta. No potatoes for a quick batch of fries. What we did have was baking supplies, a bit of butter, garlic, a teeny bit of Italian seasoning and about a tablespoon of Parmesan stuck to the bottom of the tub.
We were pretty hungry (and also busy) so I didn't take any photos of the process and as you can see we already ate a bunch of what was there on the pan! These were easy to make, not much work at all, just a bit of waiting so we had some apples with almond butter while we waited and cleaned.
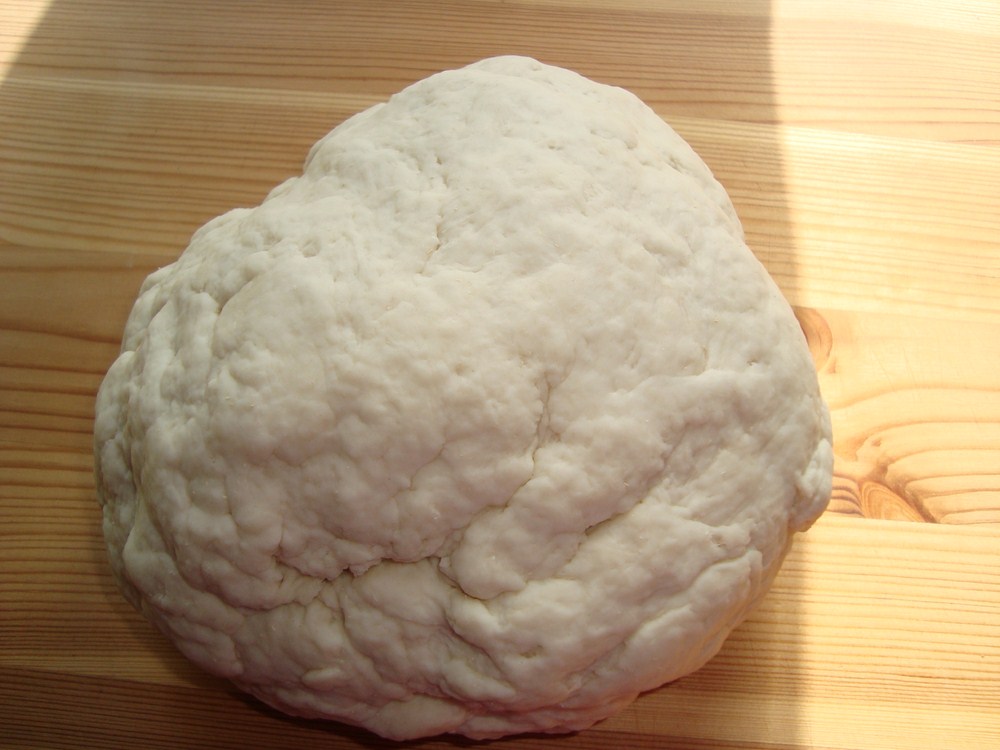
Just start by mixing up a batch of pizza dough. No need to let it sit and rise before you work with it this time though. I did mine 2 different ways. Jon wanted breadsticks and I wanted garlic bread so I cut the dough into 2 pieces, I half I flattened into a pie plate, the other half I rolled into sticks. Then I covered them with a clean tea towel and let them sit to rise for about 45 minutes or so.
When the time was up I turned my oven on to 400 and made my garlic butter. I just finely chopped a large garlic clove and microwaved it in about 2 tablespoons of butter. I brushed a bit over the breadsticks and then cut some grooves into the loaf of garlic bread and poured the rest over the top. Then everything got a sprinkle of Italian seasoning, Parmesan and sea salt. I popped them into the oven for about 20 minutes, the garlic bread needed an additional 5 due to the thickness.
These were sooo good even though we didn't have anything to use for a dipping sauce. We ate all of the garlic bread right away since it was so moist and garlicky, the breadsticks went with chili that we had for dinner.
I can't wait to try making these again, I'll probably just use a half batch of dough to do the garlic bread and add some cheddar on top to make garlic cheese bread.
The surprising adventures of a young self-employed family!
Waste less. Save more. Get smarter. Make things.
Showing posts with label bread. Show all posts
Monday, October 31, 2011
Pizza Dough Breadsticks
Monday, September 5, 2011
Homemade Sweet Cornbread
This is great for breakfast or as a snack with tea. It's quick and easy to make and you can make it sweet or savory. This time I went with sweet but next time I may do savory with some cheese and green onion to go along with soups and chili that are coming up on the menu later in the month. Sorry, no photos of the process this time.
Start by making a cup of buttermilk if you don't keep any in your fridge, pour it into your bowl or mixer and add the cornmeal. Let the cornmeal soak for a couple of minutes while you get the other ingredients ready and preheat the oven to 400.
Now add the sugar and oil, mix for a bit and then add the egg and mix. Now add all of the dry ingredients and mix until just combined. The batter should be quite thick, pour into a lightly greased pan and thump the pan on the counter to even out the batter a bit. Bake at 400 for 20-25 minutes. Mine baked for 22 minutes and was perfect.
For savory cornbread:
- 1 cup buttermilk
- 1/3 cup canola oil
- 1 egg
- 1 cup cornmeal
- 1 cup flour
- 1/2 cup white sugar
- 1 teaspoon salt
- 3 teaspoons baking powder
Start by making a cup of buttermilk if you don't keep any in your fridge, pour it into your bowl or mixer and add the cornmeal. Let the cornmeal soak for a couple of minutes while you get the other ingredients ready and preheat the oven to 400.
Now add the sugar and oil, mix for a bit and then add the egg and mix. Now add all of the dry ingredients and mix until just combined. The batter should be quite thick, pour into a lightly greased pan and thump the pan on the counter to even out the batter a bit. Bake at 400 for 20-25 minutes. Mine baked for 22 minutes and was perfect.
For savory cornbread:
- Only use 1 tablespoon of sugar instead of 1/2 cup, you could also up the salt to 1 1/2 teaspoons if you like
- Add 1/2 cup cheddar cheese and a chopped green onion as well as a shake or 2 of cayenne pepper
- Try cheese and diced jalepenos
Tuesday, June 28, 2011
Easy Homemade Bagels
This recipe is easy and fairly fast for a yeast/bread recipe, especially if you happen to have a mixer since it does all the kneading for you!
Ingredients:
4 cups flour
1 tablespoon sugar
1 teaspoon salt
2 teaspoons instant yeast
1 tablespoon oil (I use olive)
1 3/4 cup warm water
Get all of the dry ingredients into the mixer and start it up on the lowest speed. Slowly drizzle in the oil and warm water. Let mix for about 5 minutes, it should make a nice elastic ball that shouldn't be sticky or crumbly.
Drop it onto your work table, pat it into an even shape and cut into 8. I'm doing 6 regular sized bagels and 4 mini ones to freeze for Alice to chomp on. Toss the pieces back into the mixing bowl and let them rest with a towel over the top for 15 minutes.
Now it's time to shape your bagels. Roll each piece of dough into a rope, overlap the ends and tuck and pinch. You can give each one a squish to even it out a bit so you don't have one side of the bagel that's all misshapen. It will get easier the more bagels you do. You don't really have to be gentle with this dough.
Once all the bagels are assembled let them sit another 15 minutes. Get a big pot of water on to boil and set your oven to 400.
Now you're going to boil your bagels. It seems weird but you're pretty much mostly cooking them this way and then finishing them off in the oven. If you have a big enough pot you should be able to do 4 at a time. Boil them 30 seconds per side and then plop them back onto their baking sheet with a slotted spoon. Pop them into the oven for 15-20 minutes, they should be just starting to turn a bit golden. You don't want them to brown or they will be too dry and hard.
There you go! Tasty bagels. Sometimes I like to substitute 1/2 cup of the regular flour with whole wheat flour, I'm sure you could add oats or flax seed or whatever else you like. If you want toppings such as poppy or sesame seeds just do an eggwash and sprinkle them on.
Friday, June 17, 2011
No Knead Bread
This is the easiest loaf of bread I've ever made, I think that maybe even Jon could make it if he had to. But it took FOREVER from start to finish, 22 hours and 45 minutes to be exact. The time didn't bother me but Jon was like "OMG, where's the bread, I want it now!" Haha, silly men and their food.
I didn't document the whole process, I'll just link you to Steamy Kitchen's tutorial because she does a much better job of explaining it than I will.
I did make a couple of changes so I'll note that here:
So here's the entire timeline for my loaf:
We were into the loaf within 15 minutes of it being out of the oven, it was so good. We ended up eating about half of it right away even though we had just eaten dinner. We'll probably have the rest today, maybe make grilled cheese or something.
I didn't document the whole process, I'll just link you to Steamy Kitchen's tutorial because she does a much better job of explaining it than I will.
I did make a couple of changes so I'll note that here:
- I just used regular all-purpose flour and the loaf turned out just fine
- I used half a teaspoon of yeast
- I don't have a nice Le Creuset pot so I just used my big metal roasting pan with a piece of parchment paper on the bottom
- Because I used the metal pan I reduced the lidless baking time to 10 minutes instead of 15 because the loaf was getting pretty dark
- I wrote the time that I started the bread on the plastic wrap so I wouldn't forget
- I went the entire 20 hours with my dough because I have all the windows open at night and it gets nice and cool, not optimal bread-rising conditions
So here's the entire timeline for my loaf:
- About 2 minutes to get the ingredients out and mix up the dough and cover and label it
- 20 hours for the dough to sit out on the counter
- About 3 minutes to scrape the dough out of the bowl, tuck and roll it and transfer it to a floured towel in a tall bowl
- 30 minutes baked with the lid on my roasting pan
- 10 minutes baked uncovered
We were into the loaf within 15 minutes of it being out of the oven, it was so good. We ended up eating about half of it right away even though we had just eaten dinner. We'll probably have the rest today, maybe make grilled cheese or something.
Wednesday, June 15, 2011
30 Day Challenge- Day 15
Very busy cleaning day today so there was no recipe post. A bunch of stupid people set downtown Vancouver on fire tonight because their team lost. Embarrassing.
Today I did all of this:
We also got the meal plan done up for about half of July so far, we'll finish it up tomorrow probably. We need to get groceries tomorrow and family is coming over so it's looking like another busy day.
Some photos:
Pizza Roll (its a rolled up pizza) sauce on the side. It didn't rise nicely like last time but still tasted great.
The start of a "No Knead Bread" - recipe here
Today I did all of this:
- Emptied, wiped out and reorganized the fridge and freezer
- Cleaned and organized the kitchen cupboards and drawers
- Swept the floor
- Scrubbed Alice's baby tub so we can Craigslist it
- Cooked and picked apart a chicken breast for dinners this week
- Thinned my basil and pinched off the flowers, it got pureed with garlic and put into cubes in the freezer so it can easily be added into sauces
- Made a pizza roll
- I have no-knead bread on the counter, it gets to sit for at least 12 hours so we'll see how that turns out
- Put away dishes
- Alice is teething or having a growth spurt or something and wants to eat every single hour so that takes a lot of time and energy
- Watch Alice and take her to the park to play so I could get the cupboards done
- Wash dishes
- Helped with dinner
- Got a bit of work done
- Cleaned up the toys scattered everywhere
We also got the meal plan done up for about half of July so far, we'll finish it up tomorrow probably. We need to get groceries tomorrow and family is coming over so it's looking like another busy day.
Some photos:
Pizza Roll (its a rolled up pizza) sauce on the side. It didn't rise nicely like last time but still tasted great.
The start of a "No Knead Bread" - recipe here
Thursday, June 9, 2011
Subscribe to:
Posts (Atom)